How to record audio on a Mac, including internal audio


In this article
To record audio on a Mac, use QuickTime Player or Voice Memos for your microphone; to record internal audio, route the Mac’s sound through a virtual audio device such as BlackHole and select it as the recorder’s input. Microphone recording does not automatically capture sound playing inside an app. This 2026 guide covers both paths, including how to hear playback while recording and avoid missing the other side of a conversation.
- For how to record audio on Mac, QuickTime Player handles microphone recording; BlackHole adds an internal-audio route.
- Voice Memos is best for spoken reminders, not direct capture of sound playing inside another app.
- Omi is best for professionals who need conversation recordings turned into searchable notes and tasks.
- Test your recording before a meeting: hearing playback does not prove your recorder is capturing it.
How to record audio on a Mac, including internal audio
Choose the audio source before you choose the recorder. Your microphone captures speech and room sound. Internal audio is the sound an application sends to the Mac’s audio output, such as browser playback or a remote participant’s voice.
The basic process is:
- Choose the source. Decide whether you need your microphone, internal playback, or both.
- Set the route. Use your microphone directly, or configure a virtual audio device for internal sound.
- Record a test. Speak and play the sound you need to capture.
- Check playback. Listen to the saved test, not just the live audio.
- Save the recording. Keep the original file before editing or transcribing it.
If your goal is a usable transcript rather than just an audio file, follow the separate guide to transcribing audio to text. Recording and transcription are different jobs; getting the source right comes first.
Why this matters
A recording can look successful and still miss the important voice. QuickTime can capture your microphone while leaving out the remote participant, or capture internal playback while leaving out your own speech.
A moving input meter proves that some sound is arriving—not that every required source is arriving. Before recording a meeting in 2026, test each source separately and then listen to the saved result.
| Option | Best for | What it captures | Main advantage | Main limitation |
|---|---|---|---|---|
| QuickTime Player | A straightforward microphone recording | The selected audio input | Built into macOS; simple record-and-save workflow | Internal playback needs a separate audio route |
| Voice Memos | Spoken reminders and personal voice notes | A microphone | Simple capture and organization | Not a direct system-audio recorder |
| BlackHole with QuickTime Player | Internal audio from Mac apps | Playback routed through the virtual device | Sends app playback to a recording input | Requires setup; microphone mixing is a separate task |
| Omi | Professionals who need conversation notes and tasks | Conversations recorded through its Mac app or other supported capture methods | Produces transcripts, summaries, tasks, and searchable memories | You still need to check capture, language, and consent settings |
Record your microphone with QuickTime Player
QuickTime Player is the direct choice when you want to record yourself speaking, an interview in the room, or sound from an external microphone. You do not need a virtual audio device for these recordings.
Set up and record
- Open QuickTime Player.
- Choose File > New Audio Recording.
- Open the options menu beside the record button.
- Select the microphone you want to use.
- Speak and check that the input meter responds.
- Press the record button, then stop when finished.
- Choose File > Save and give the recording a useful name.
If macOS asks for microphone access, allow it for QuickTime Player. You can review that permission in System Settings > Privacy & Security > Microphone; wording and layout depend on your macOS version.
Use the input meter to check the selected microphone, then use playback to check the actual recording. An external microphone can be connected without being selected. A headset can also become the active input when you expected the Mac’s built-in microphone.
For an interview, place the microphone where it can hear both speakers. A microphone pointed at you is not a reliable way to capture someone speaking quietly across the room.
What QuickTime does not capture automatically
Selecting your built-in microphone does not create a direct recording of browser audio or meeting playback. It captures those sounds only if they reach the microphone acoustically, such as through speakers.
That speaker-to-microphone path includes the room. Use an internal-audio route when you need the playback itself, rather than a recording of your speakers.
Record a voice note with Voice Memos
Voice Memos is best for reminders, spoken drafts, and short personal notes. Open the app, start recording, stop, and rename the result so you can find it later.
Keep the microphone near the speaker and away from noise sources. Before a longer recording, confirm that the app has microphone permission and that the saved audio contains your voice.
The advantage is simplicity. The limitation is source selection: Voice Memos is not a substitute for routing internal Mac audio into a recorder. If you want to capture a browser video directly, use the internal-audio method below.
For a personal note, avoid solving a problem you do not have. A microphone recording is enough when your own speech is the only source that matters.
Record internal Mac audio with BlackHole and QuickTime
BlackHole is a virtual audio driver that lets audio output become an input for another application. Pairing it with QuickTime Player gives you a route for recording sound that would otherwise go to your speakers or headphones.
For a straightforward stereo workflow in 2026, BlackHole’s 2-channel version provides the virtual input and output needed here. Obtain the driver from its official distribution and follow its installation instructions.
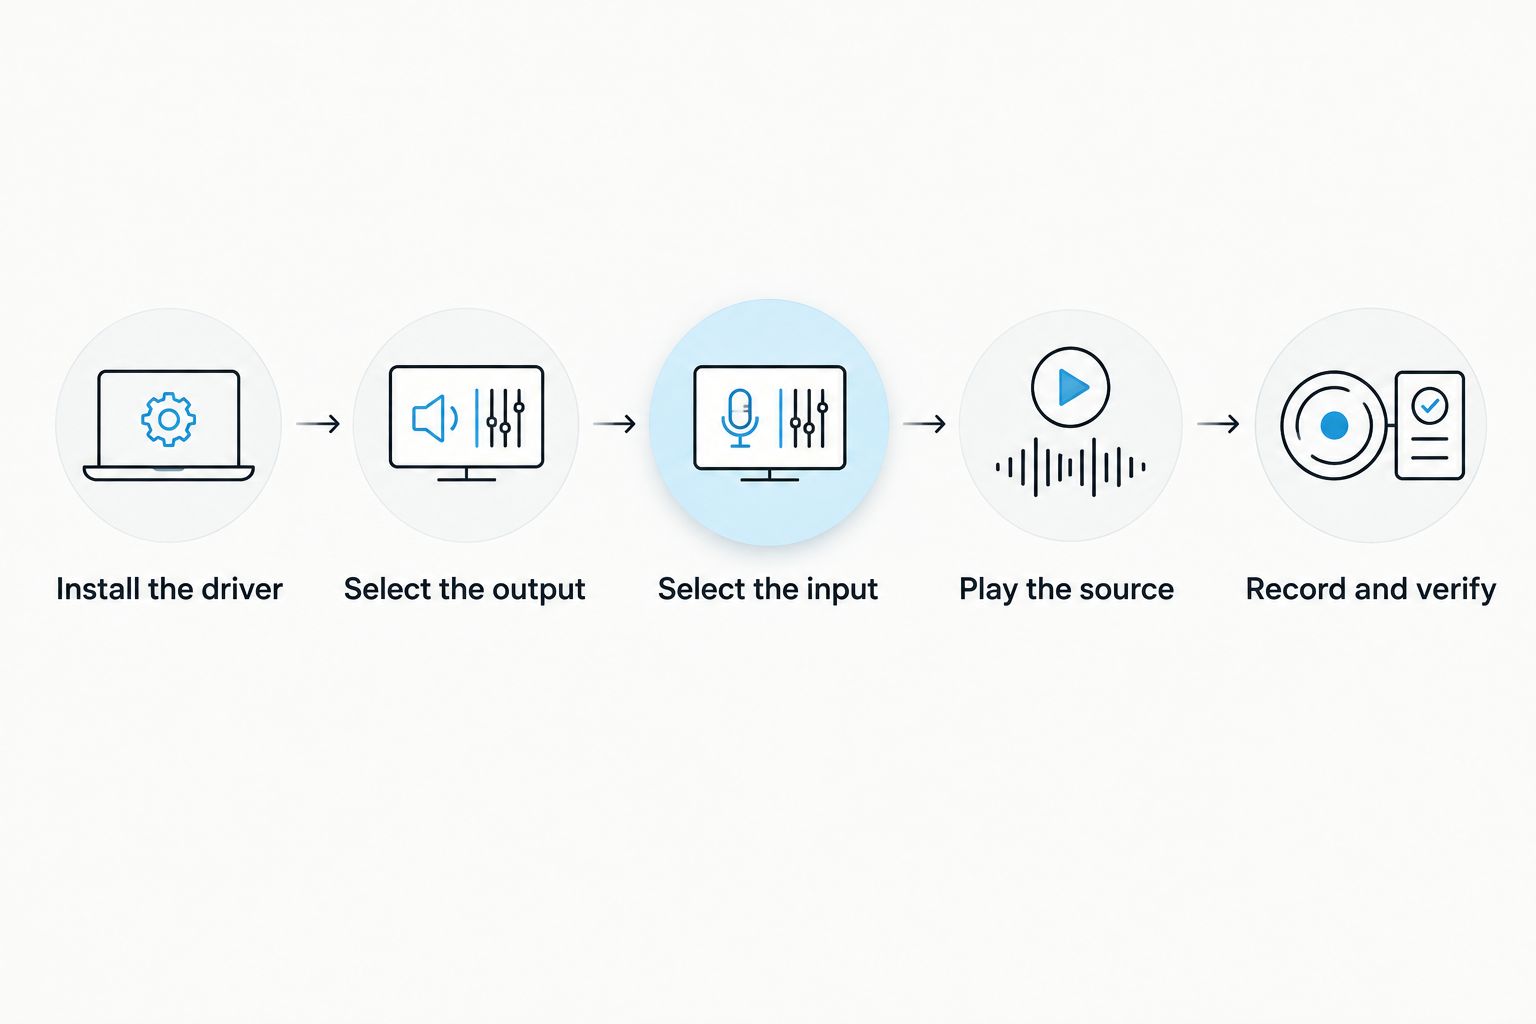
Route playback into the recorder
- Install the driver. Install BlackHole and complete any restart requested by its installer.
- Select the output. In the Mac’s sound settings, choose BlackHole as the output device.
- Select the input. Open QuickTime Player’s audio recording window and choose BlackHole as its input.
- Play the source. Start the browser, media player, or other app whose audio you need.
- Record and verify. Record a short sample, stop, and listen to the saved file.
With BlackHole selected as the only output, you are routing playback into the virtual device rather than directly to your headphones. Silence at your ears does not necessarily mean silence in the recording.
Hear the audio while recording it
To listen and record at the same time, create a Multi-Output Device in Audio MIDI Setup. This sends playback to both your listening device and BlackHole.
- Open Audio MIDI Setup.
- Use the add button to create a Multi-Output Device.
- Include BlackHole and the headphones or other output you want to hear.
- Select the Multi-Output Device as the Mac’s sound output.
- Keep BlackHole selected as QuickTime Player’s recording input.
Check the device settings in Audio MIDI Setup and follow the driver’s guidance for clock source and drift correction. A Multi-Output Device is an output arrangement; it does not add your microphone to the recording.
Keep QuickTime’s live monitoring volume down when recording routed playback. Sending the recorder’s monitored signal back into the same captured output can create feedback.
Keep the audio format consistent
Audio MIDI Setup exposes sample-rate settings for supported devices. 44.1 kHz and 48 kHz are common audio sample rates; choose compatible settings across the devices in your route.
For speech recording, the sample-rate number is not the first problem to solve. A correctly routed signal matters more than changing a format while the recorder is listening to the wrong input.
After recording, return the Mac’s output to your usual headphones or speakers. Otherwise, later playback can keep going to the virtual route instead of the device you expect to hear.
Record your microphone and internal audio together
Recording both sides of a call requires both sources: your microphone for your voice and internal playback for the remote speaker. Capturing only BlackHole leaves out your microphone unless another application mixes it into that signal.
A Multi-Output Device duplicates playback; it does not mix microphone audio with playback. An Aggregate Device groups audio-device channels, but grouping channels is not the same as producing a mixed recording of them.
For both sources, use a recorder or audio-routing application that supports the required inputs and mixing. Select the microphone and virtual playback source, then verify that the recording contains both.
Test in this order:
- Speak while playback is silent. Confirm that your voice records.
- Play audio while you are silent. Confirm that internal sound records.
- Speak over playback. Confirm that neither source disappears.
- Listen to the saved file through your normal output device.
Headphones keep meeting playback from spilling into the microphone. Without them, the remote voice can arrive through both the internal route and the microphone, creating duplicate sound or echo.
Use conversation recording when you need notes, not just audio
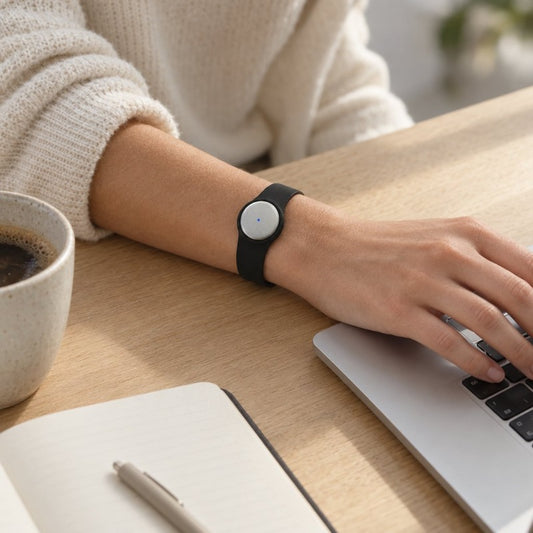
Omi is best for professionals who need conversation recordings turned into searchable notes and tasks. Its Mac app records from the built-in microphone, and it supports recording online meetings without joining calls as a bot.
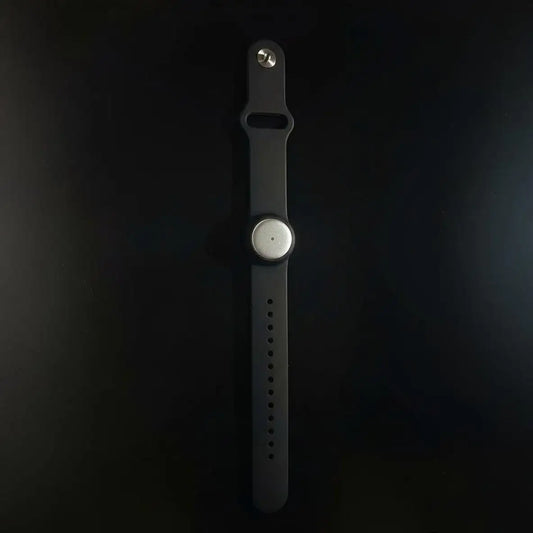
Omi’s outputs include transcripts, summaries, action items, memories, Daily Recap, search, and Ask Omi chat. You can use the app without buying the wearable.
The trade-off is that capturing a conversation and preserving a raw internal-audio source are different requirements. Use a tested routing setup when you specifically need direct playback capture, and review generated notes before treating them as the meeting record.
Omi supports 33 languages, with English the most accurate. Set the language manually; it does not automatically switch languages mid-conversation.
Why Mac recording results vary
In 2026, the main recording failures still come from the audio path, not the record button. Check these factors before changing applications:
- Selected input: A recorder captures its chosen input, not every device connected to the Mac.
- Playback destination: Internal audio reaches a virtual recorder only when playback is routed there.
- App-specific output: A meeting app can use an output different from the Mac’s general sound setting.
- Microphone permission: macOS permission must allow the recording app to access the microphone.
- Monitoring path: Sending monitored audio back into the captured route can create feedback.
- Source mixing: Capturing playback and microphone speech together requires a route that includes both.
Change one setting at a time. Repeating the same test after each change makes it clear which setting fixed—or broke—the recording.
Can I record internal audio with the Mac screenshot toolbar?
The Mac’s built-in screenshot toolbar provides microphone selection for screen recordings, not a dedicated direct system-audio input. Choosing a microphone records that microphone’s signal.
For direct internal capture, configure an audio route or use a recording application with documented system-audio capture. A screen recording is not proof that the sound inside the screen was recorded.
Why is my Mac audio recording silent?
A silent recording usually means the recorder received no usable signal from its selected input. Check the recorder input, the playback output, and microphone permissions before recording again.
If you routed audio through BlackHole, restore your normal listening output before judging the saved file. You can mistake an inaudible playback route for an empty recording.
Can I record a meeting without telling everyone?
Consent rules vary by location; check local law before recording. Tell participants what you intend to capture and how you intend to use it.
Meeting-app access and technical recording capability do not establish permission. For workplace or sensitive conversations, also follow the applicable organizational recording and data-handling rules.
FAQ
What's the easiest way to record my voice on a Mac?
QuickTime Player and Voice Memos are straightforward choices for microphone recording. Select the correct microphone, allow microphone access, and listen to a saved test before recording something important.
How do I record internal audio on a Mac in 2026?
Route playback through a virtual audio device such as BlackHole, then select that device as your recorder's input. Use a Multi-Output Device if you also want to hear the playback through headphones.
Can QuickTime record computer audio and my voice together?
QuickTime needs an input signal containing both sources to record computer audio and your voice together. Selecting BlackHole alone does not automatically include your microphone.
Do I need a wearable to record conversations with Omi on a Mac?
You do not need a wearable to record with Omi's Mac app. The app records from the built-in microphone and produces transcripts, summaries, tasks, and memories.
Why can I hear meeting audio but QuickTime cannot record it?
Hearing meeting audio means it reaches your listening device, not necessarily QuickTime's selected input. Check the meeting app's playback destination and the recorder's input route.
Should I use headphones when recording a Mac meeting?
Headphones help prevent remote participants' voices from reaching your microphone through speakers. They are especially useful when you also capture internal audio, because speaker spill can duplicate the remote voice.
Is it legal to record a conversation on my Mac?
Consent rules vary by location, so check local law before recording a conversation. Follow workplace rules and tell participants what you plan to record and retain.
One last thing
Test the saved file, not your confidence in the setup. For your next 2026 recording, speak, play the internal source, stop, and listen before the real conversation begins.
A recorder can display activity while missing an entire speaker. That small check is more useful than discovering the missing voice after the meeting.